[All photos copyright Rob Layton]
Mobile Photography: The Smartphone Revolution
Smartphone cameras are designed to make your photographic life as easy as possible while making every picture look great. Complex algorithms are employed in what has become known as computational photography (which I wrote about a few years ago for The Conversation).
These intuitive camera systems make all the creative choices for you, using highly sophisticated artificial intelligence and machine learning to analyze every scene. Essentially, smartphones know what they are looking at and react accordingly. I’ve been an avid iPhone camera user since iPhone 3 and have witnessed some remarkable advances in that time. The greatest of these was the release of the iPhone 12 Pro Max and Apple’s proprietary Pro Raw system.
I did a series of photoshoots shortly before the global release of the iPhone 12 Pro Max for a review published in The Australian (currently behind a paywall), which I also wrote about in the Bond University blog . I wrote and illustrated another blog when the iPhone 13 was released last year, so I am quite familiar with the iPhone’s recent evolution.
The standards and quality of point-and-shoot smartphone photography are now exceptional. But, what happens if you want to make your own creative decisions? Apple gradually is giving users more control of the native camera, something most Android users have been able to do for some time, yet that may not always be enough.
If you want complete control, you need third-party camera apps.
One of the best is Firstlight by Filmic Pro. It’s simple to use with one of the best camera app user interfaces on the market. (Disclosure: I was on the Firstlight beta team that helped guide that UI, and the team thanked me by naming a filter after me. So, I may be biased, but I still believe this to be one of the best apps around).
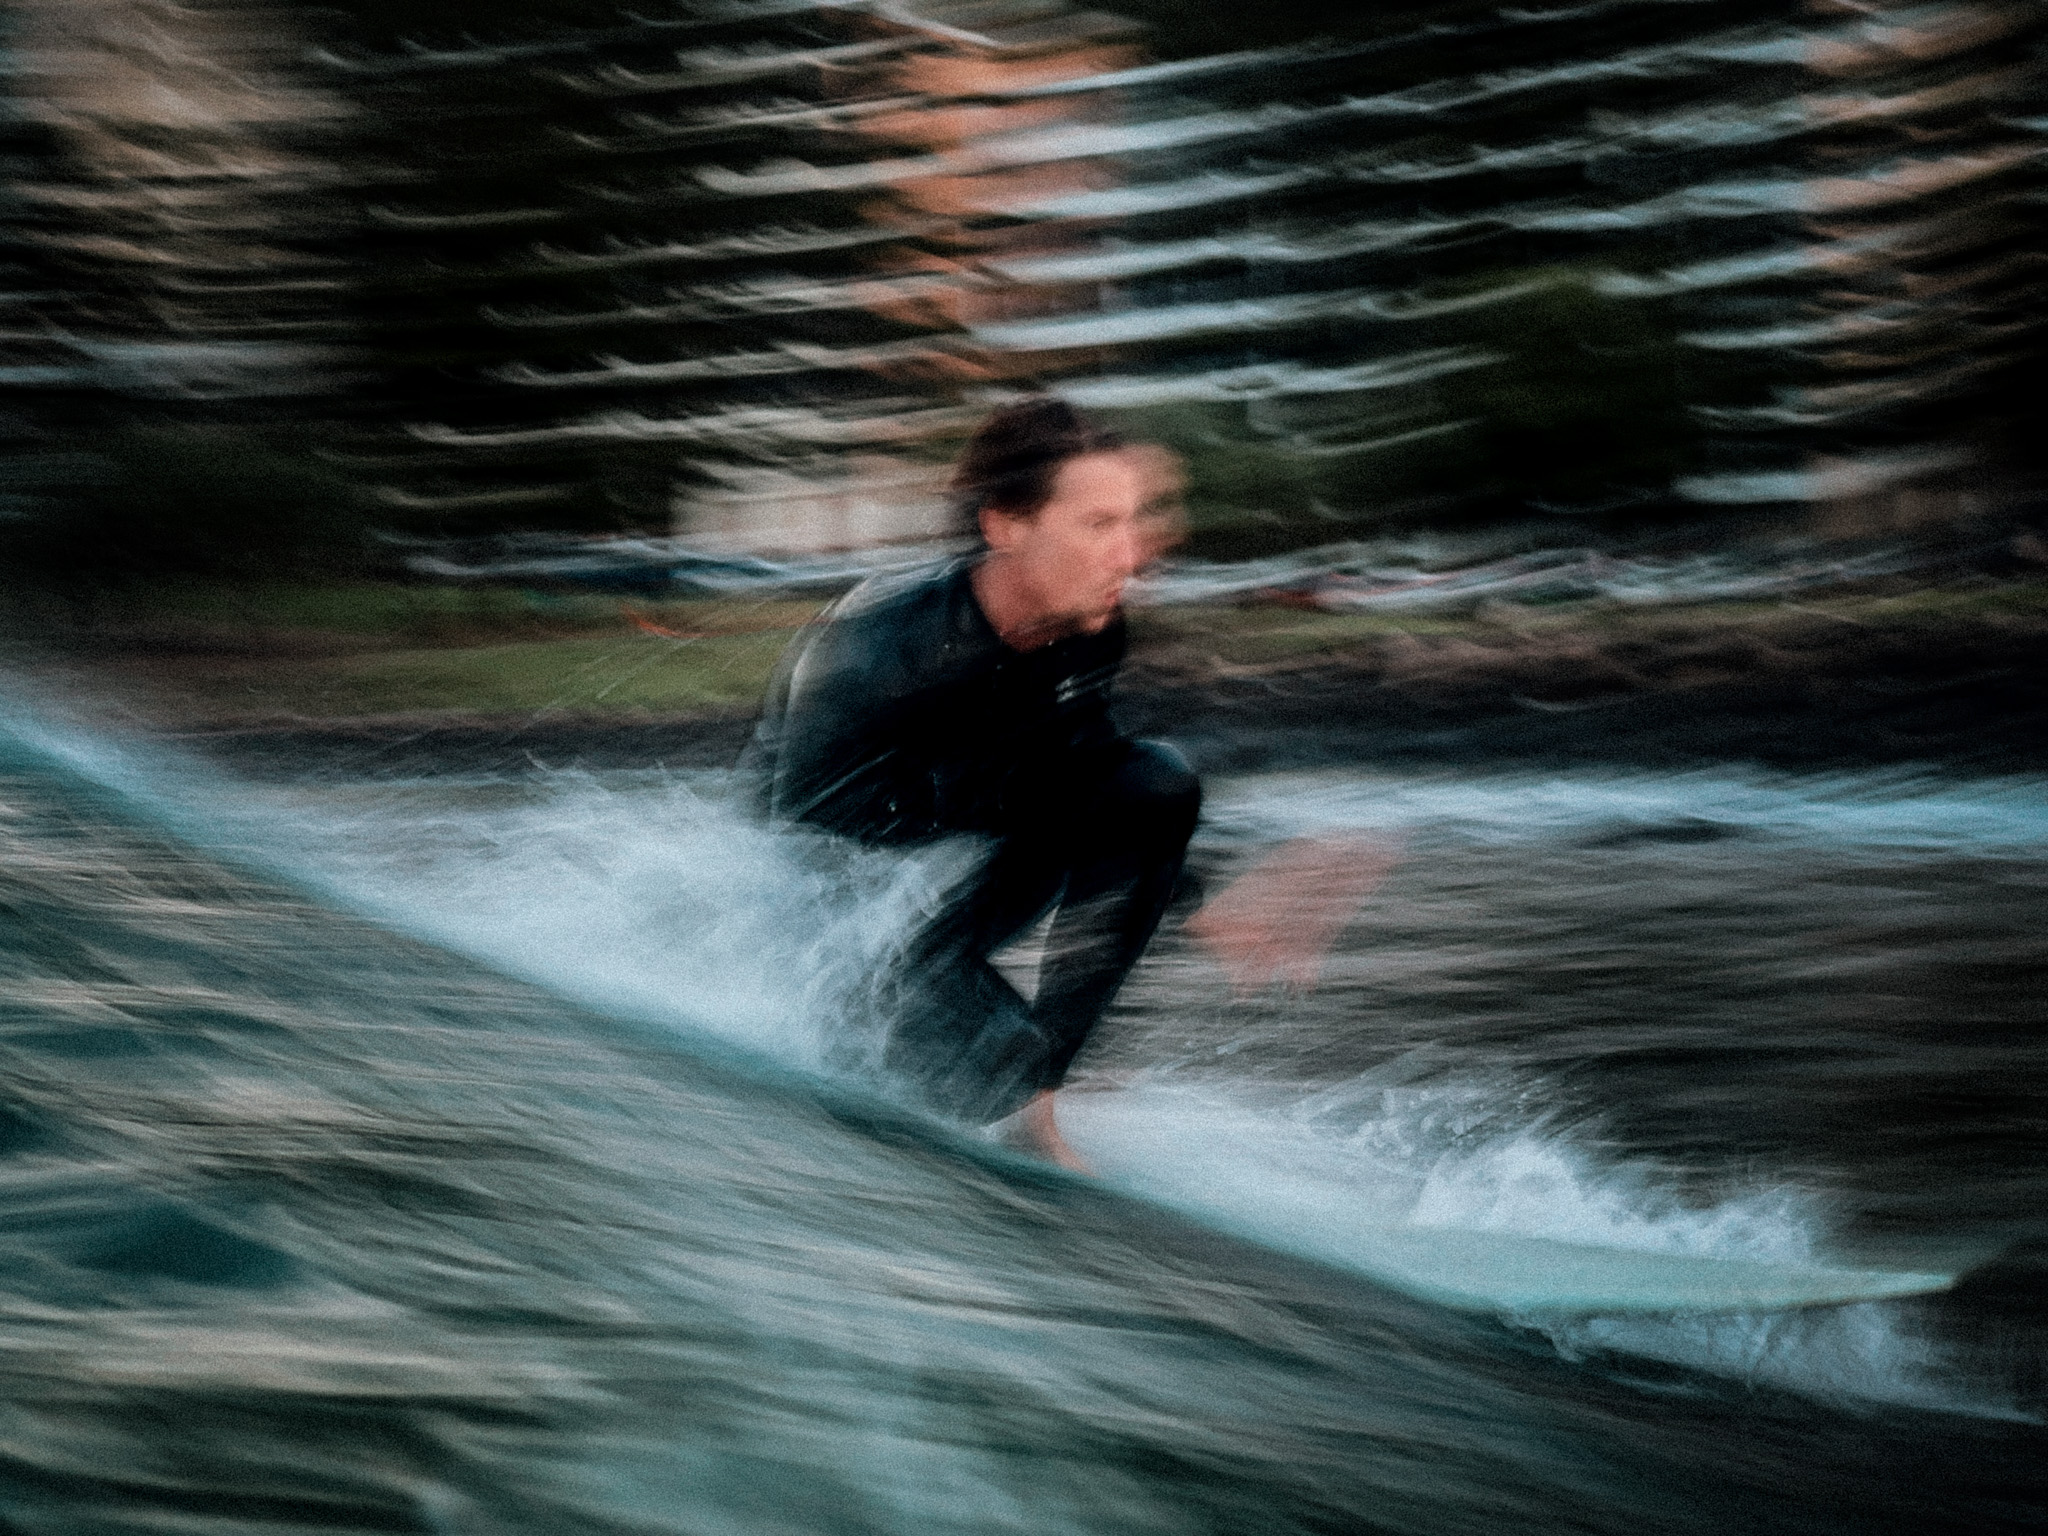
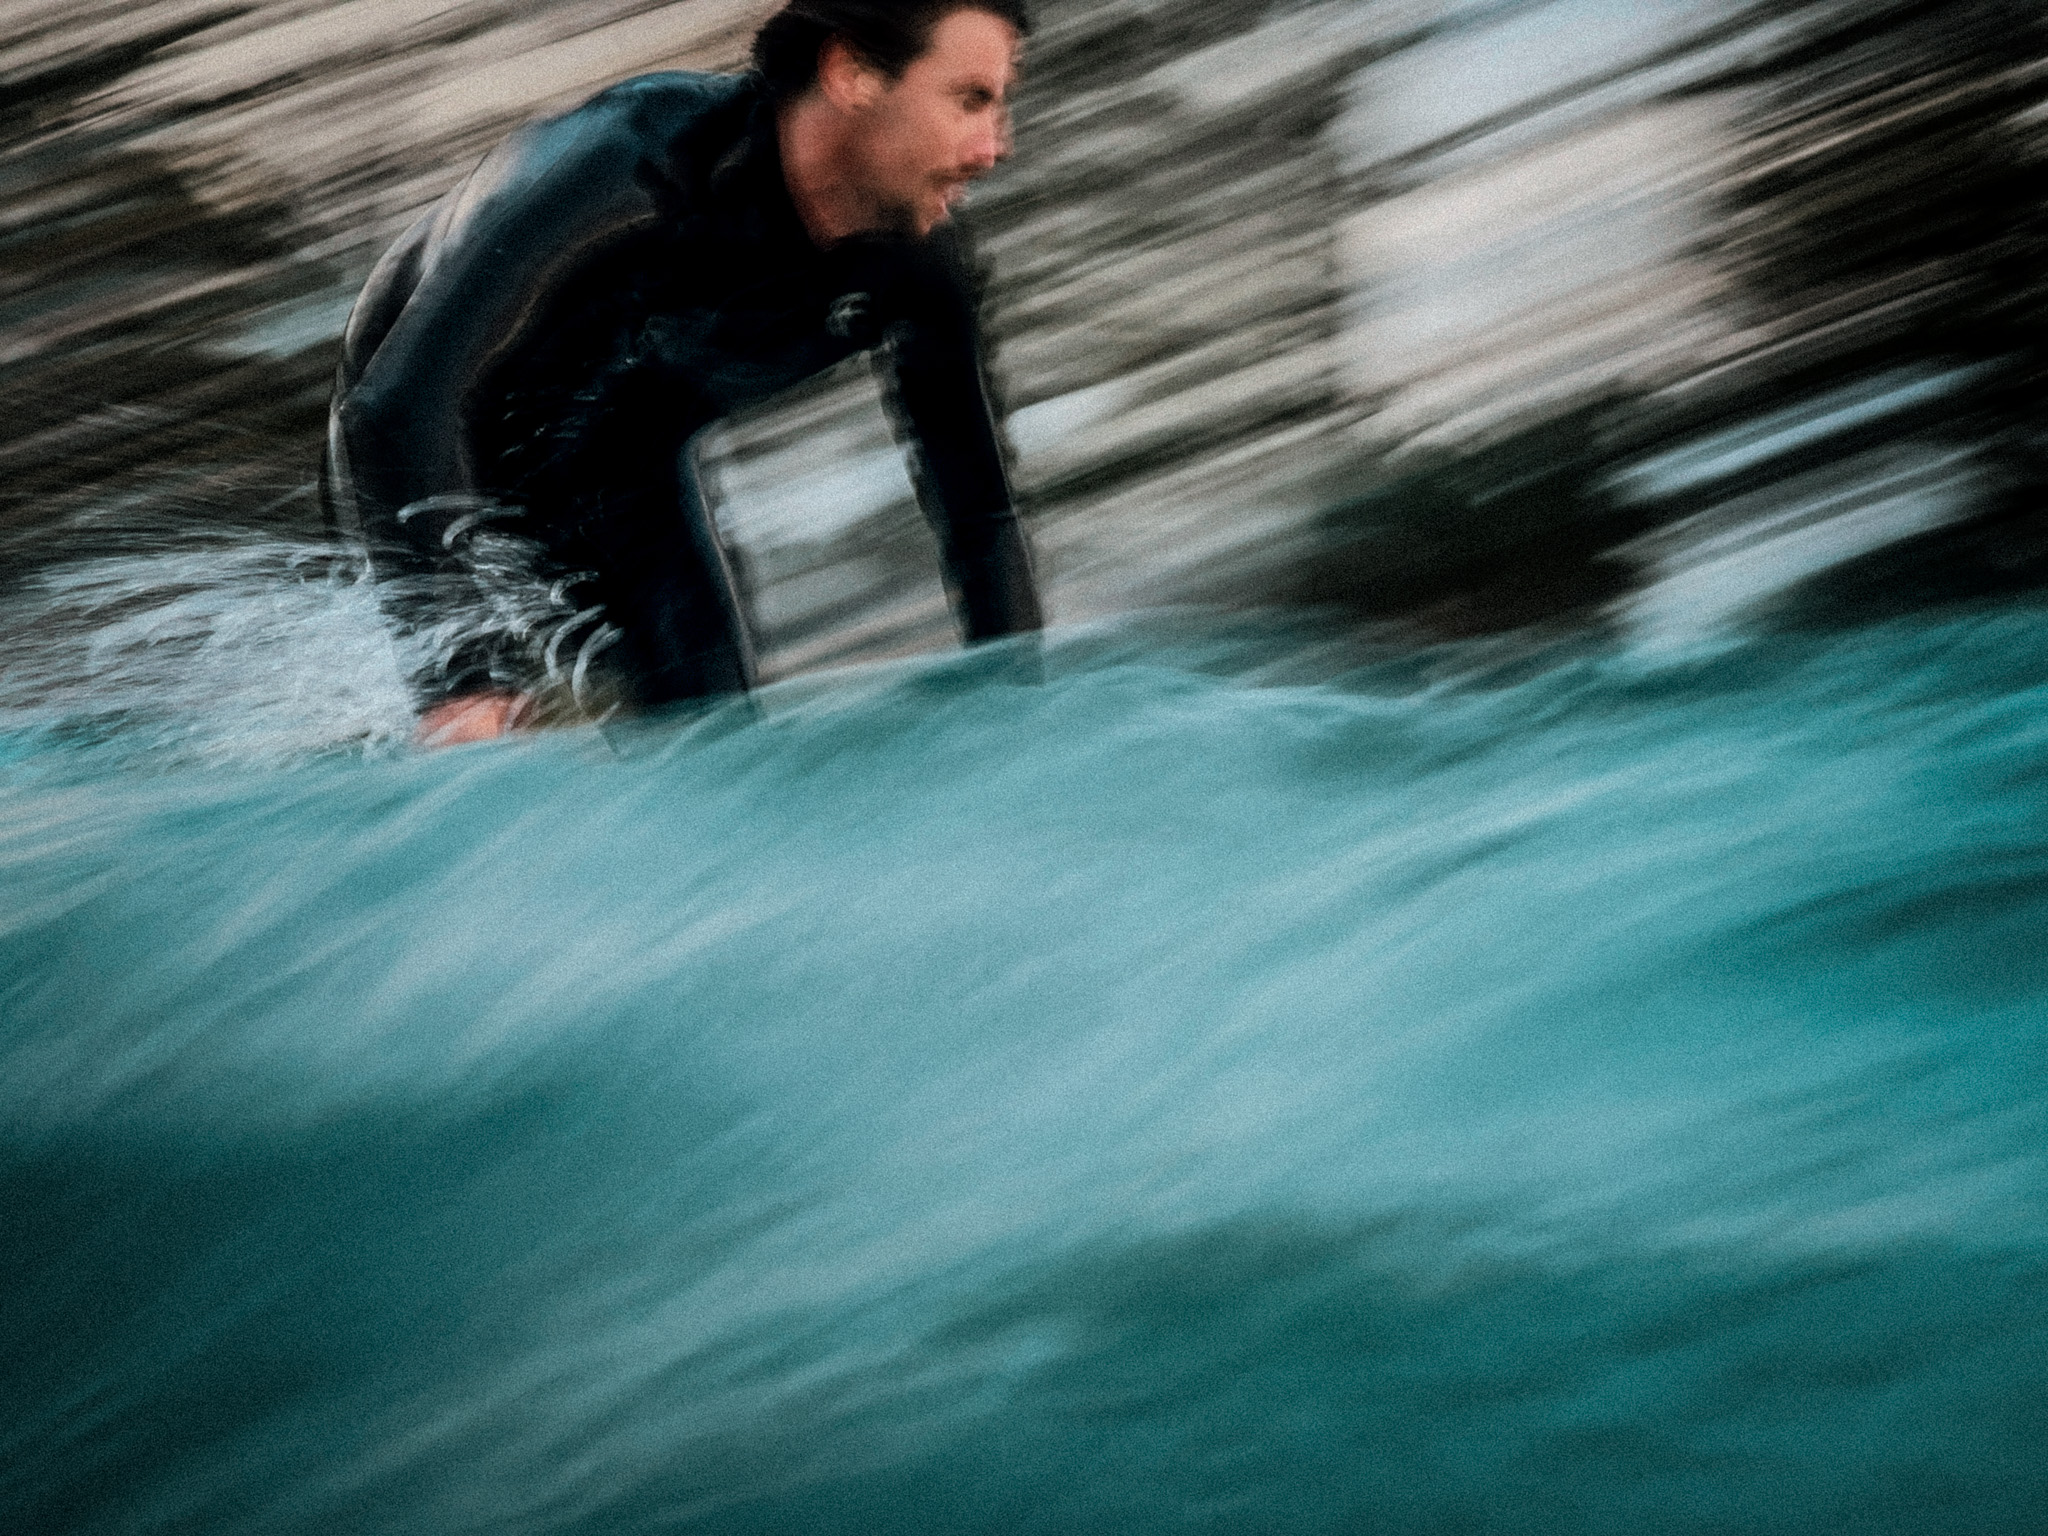
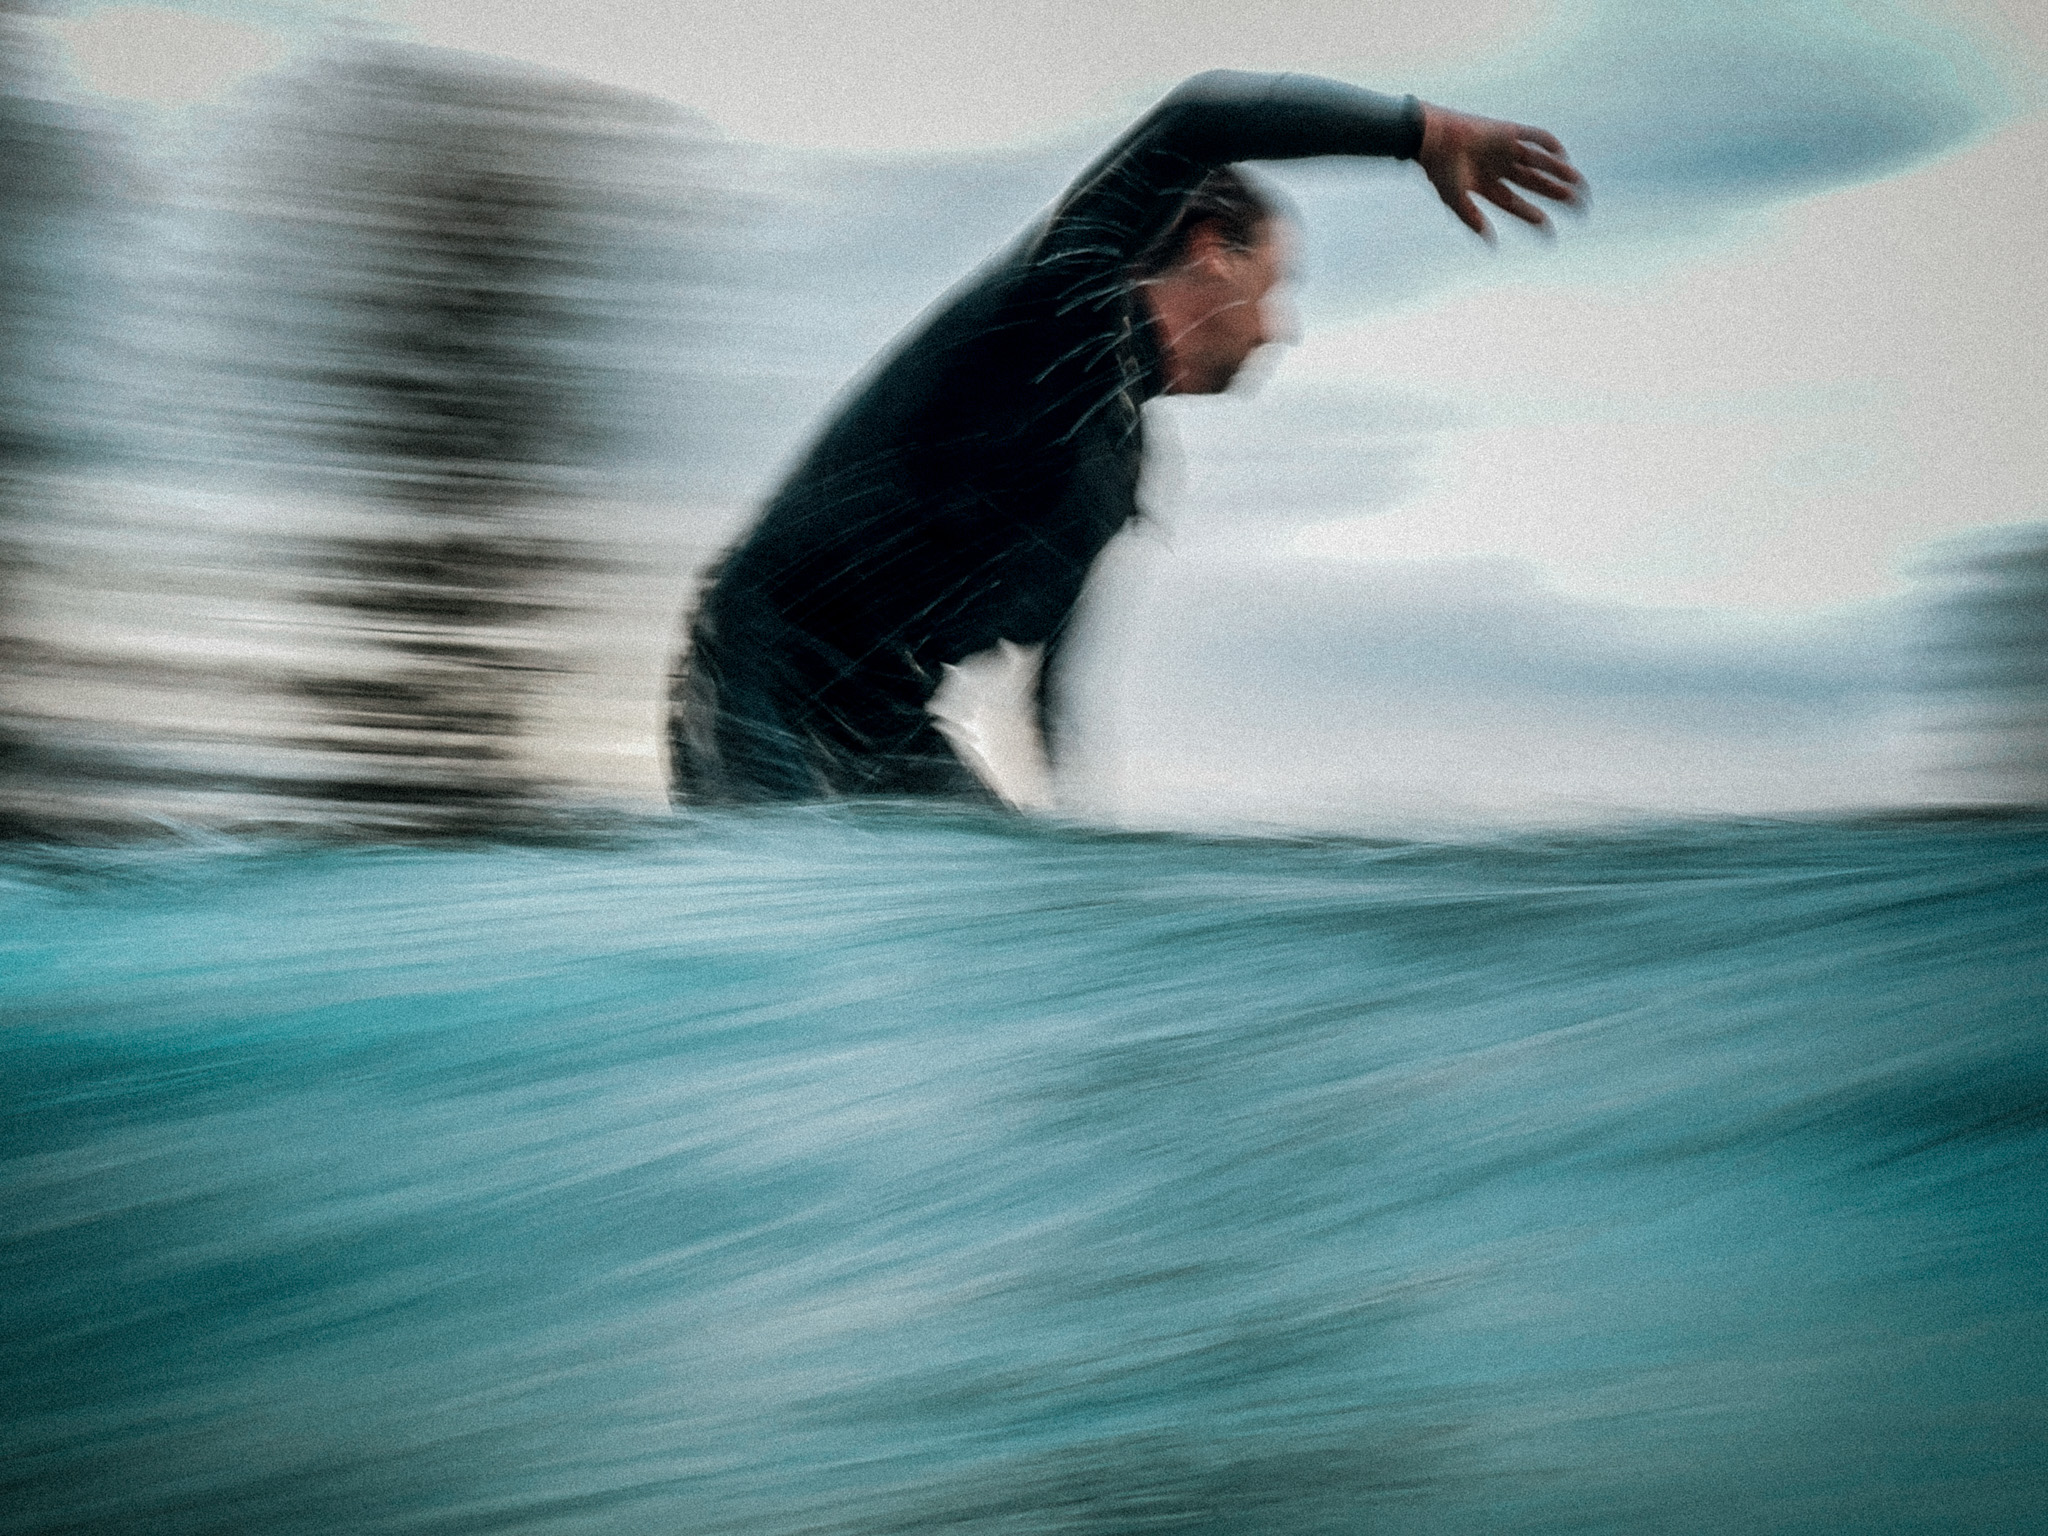
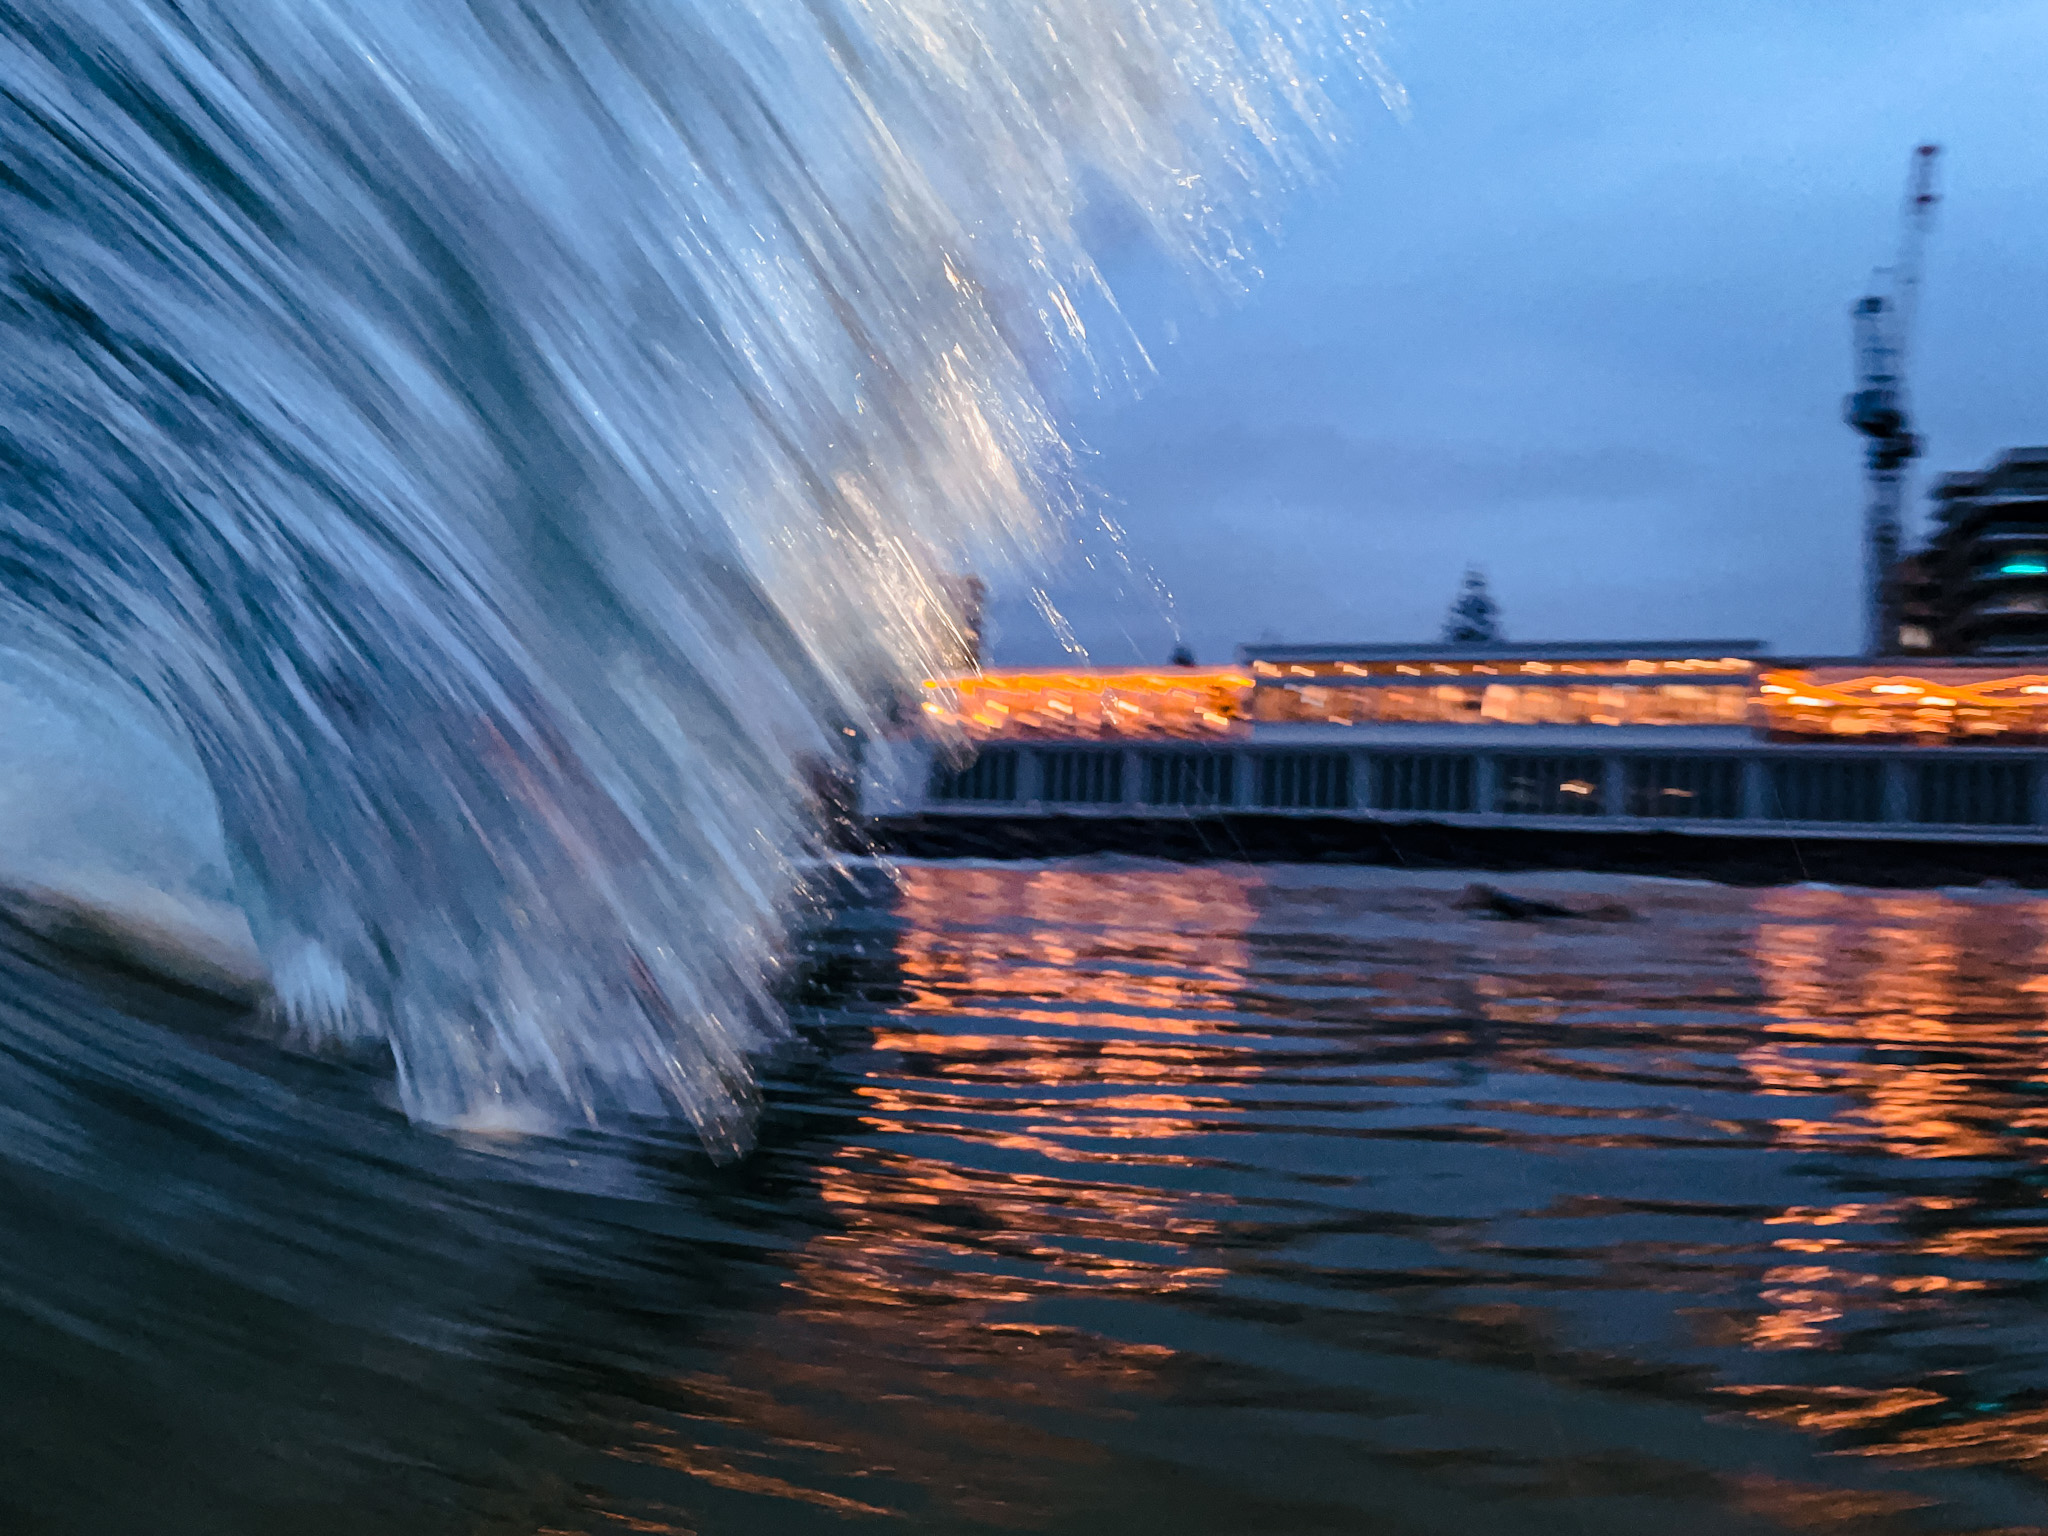
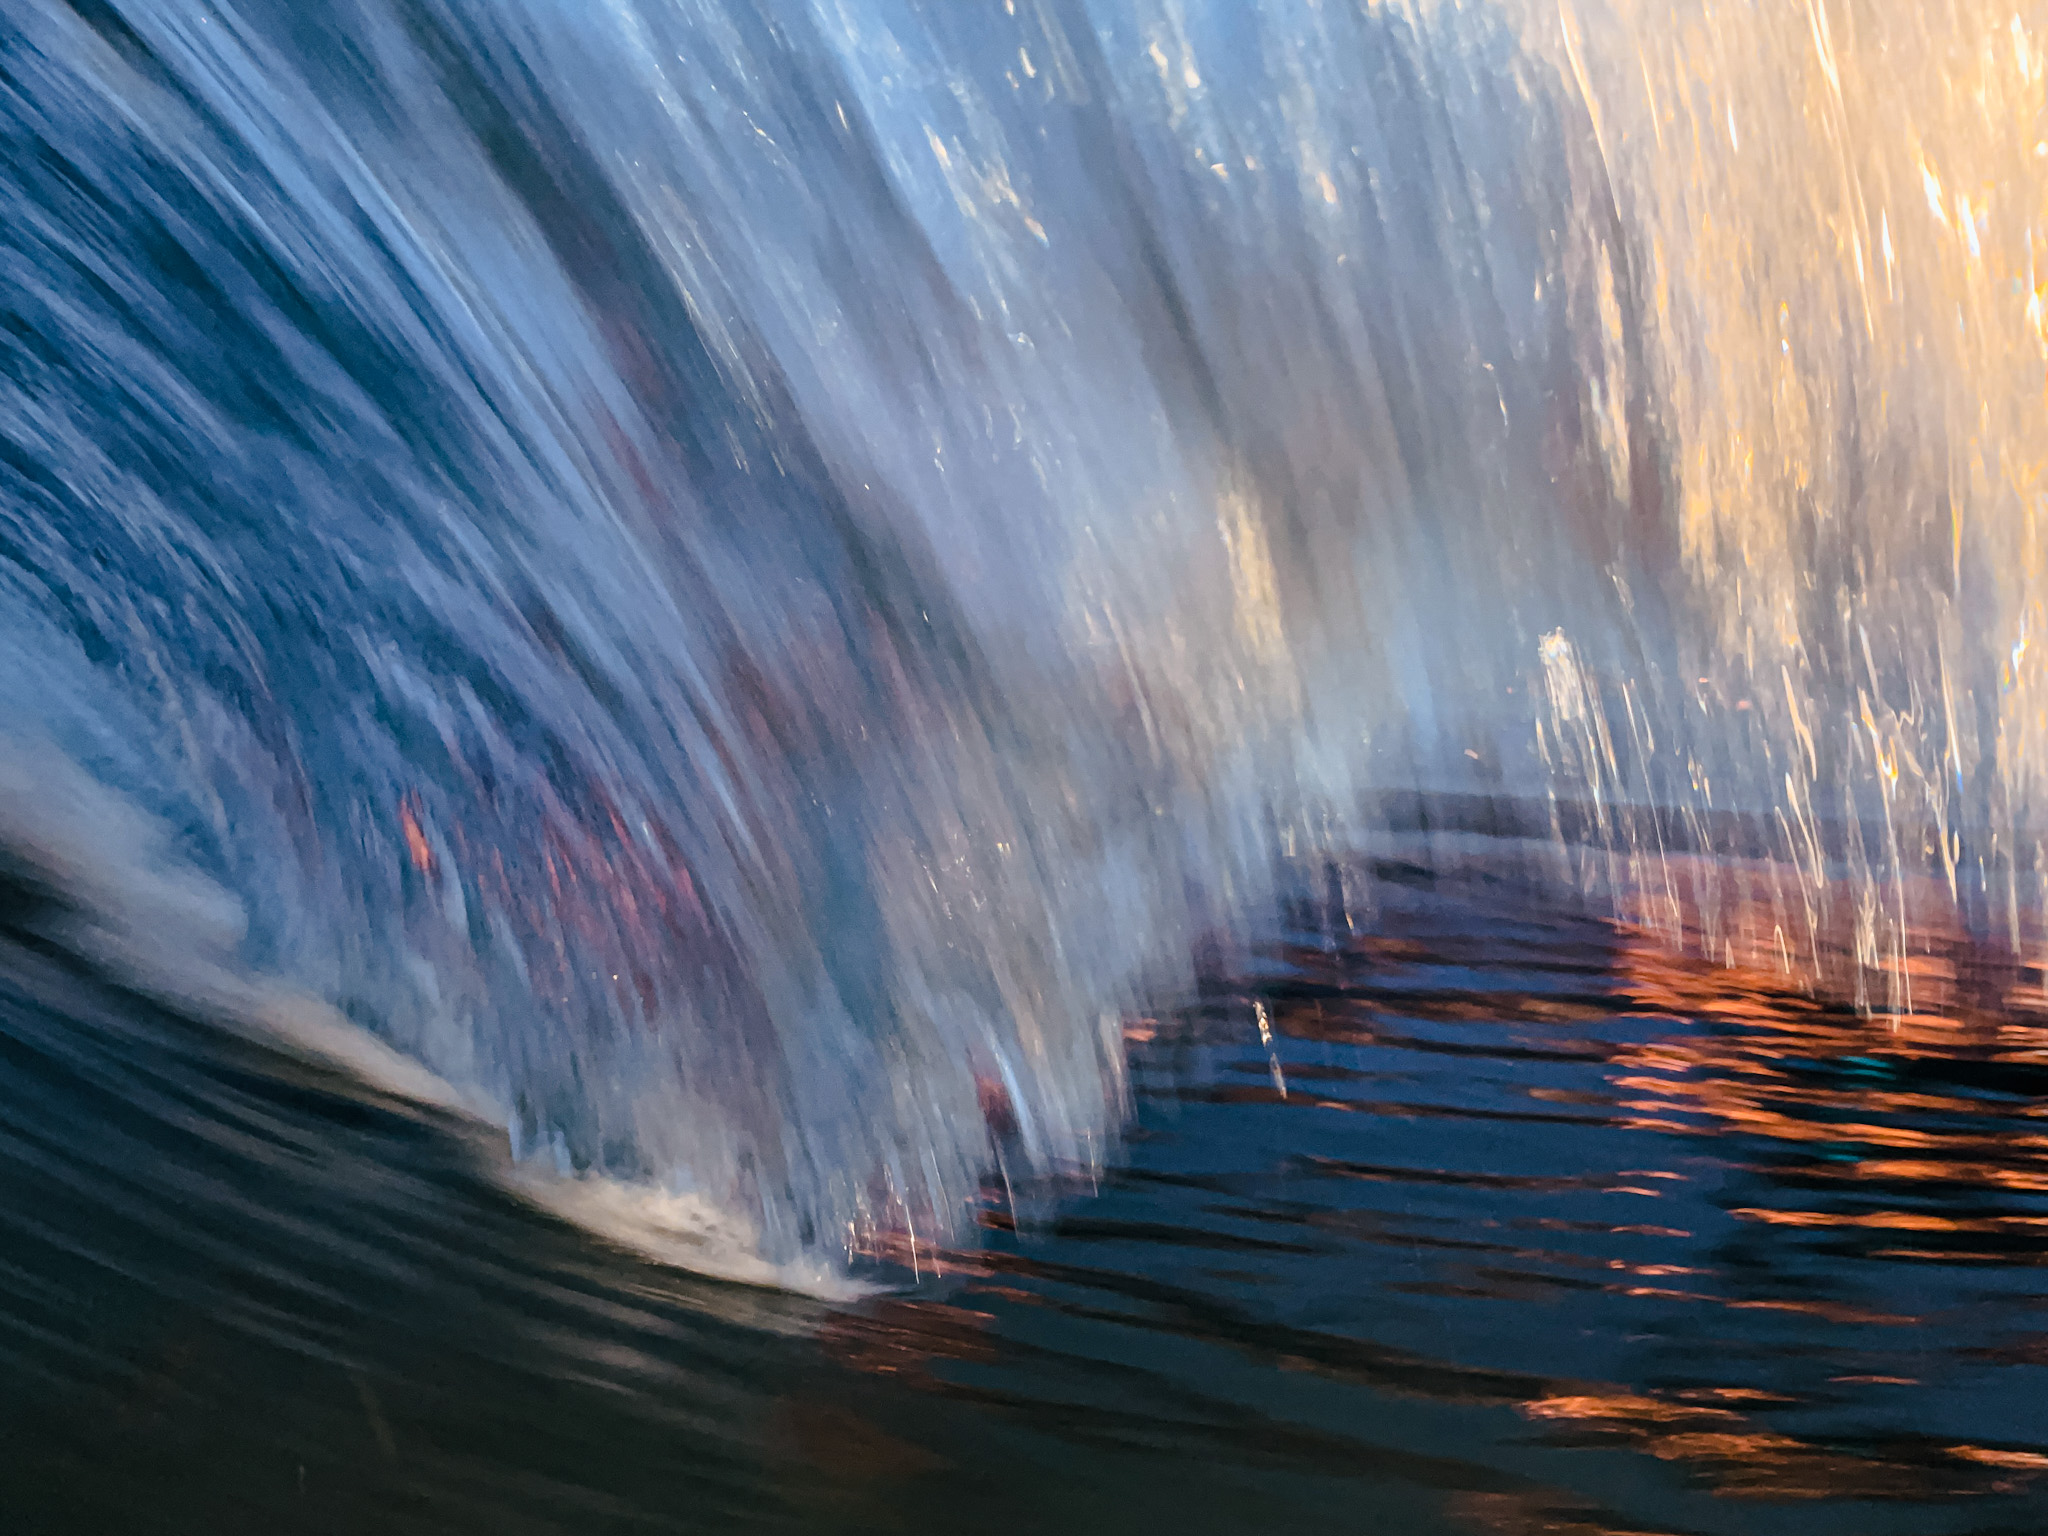
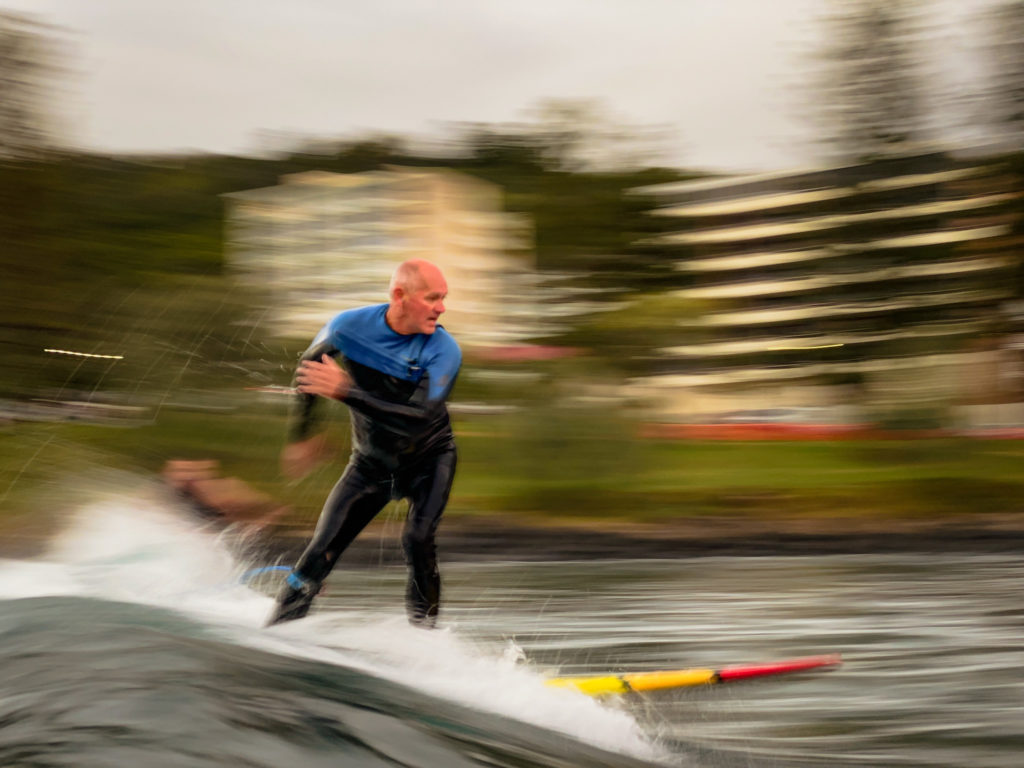
Firstlight is my preferred workflow for capturing motion blur. It is possible to create light trails and some blur using Live Photos in iOS but it’s much more effective and satisfying using the following techniques. Of course, this isn’t limited to the ocean – that’s merely my specialty – any movement or sport will do from car racing, football, even people walking.
Focal length/reciprocal rule
The key to these shutter blur images is to shoot slightly slower than the focal length of your camera. Normally, the focal length rule, also known as the reciprocal rule, is there to ensure you don’t get camera shake, as handheld shooting risks blurring your image.
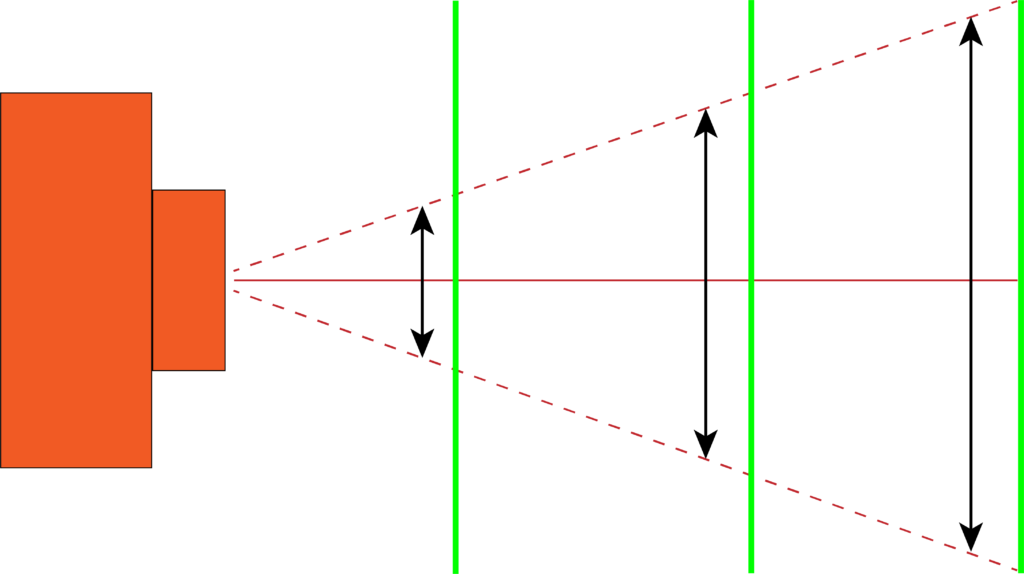
The idea is that your shutter speed should be the reciprocal of the length of the lens: if you use a 50mm lens, don’t shoot slower than 1/50th of a second; 200mm lens, aim for 1/250th and above. Camera shake magnifies with increasing focal length (as illustrated above).
In this case, we want that blur. If you’re shooting with an iPhone 12 wide camera, for example, which has a 26mm equivalent focal length, you need to shoot under 1/25th of a second. If using the ultrawide, which is 13mm equivalent, then aim for under 1/15th of a second.
Generally, anything less than 1/30th of a second, if you track with your moving subject, the background will blur anyway. But keeping your speeds under the focal length rule will emphasize that movement. I like to keep my ISO as low as possible as well to avoid unnecessary noise unless that’s a look you like.
Keep in mind that these exposure values are still tied to ambient light. Unlike computational light trails and motion blur, in which you can set pretty much any ambient value and the blur is achieved by the camera taking and blending multiple frames, this remains a traditional technique. Too bright and the image will overexpose.
That’s why I tend to shoot motion blur early in the morning or on heavily overcast days. Otherwise, it’s too difficult attaining shutter speeds slow enough, without resorting to neutral density filters. Also, don’t shoot at too low a speed or your image will be all blur and unusable.
Burst Mode
Turn on Burst Mode. You’ll no longer be able to shoot in raw or tiff, only HEIC or jpg, but you’re more assured of getting the shot. Burst, both in Firstlight and the iOS native camera, yields a slightly smaller resolution image but the dip in quality is negligible.
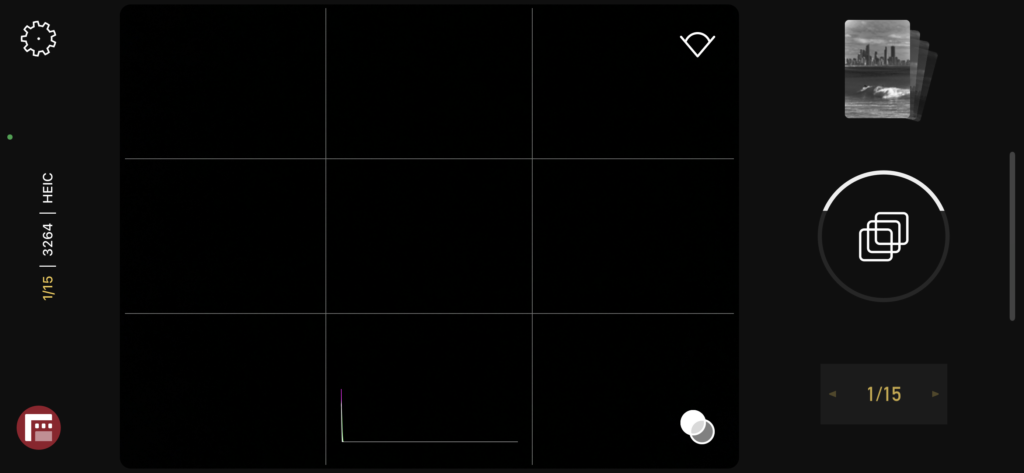
Once you have your optimum shutter speed/ISO combination set, start shooting by panning with your subject. Try to keep the subject in the middle of the frame and track your subject at the same speed as their motion. This should keep them relatively sharp while the rest of the scene is blurred.
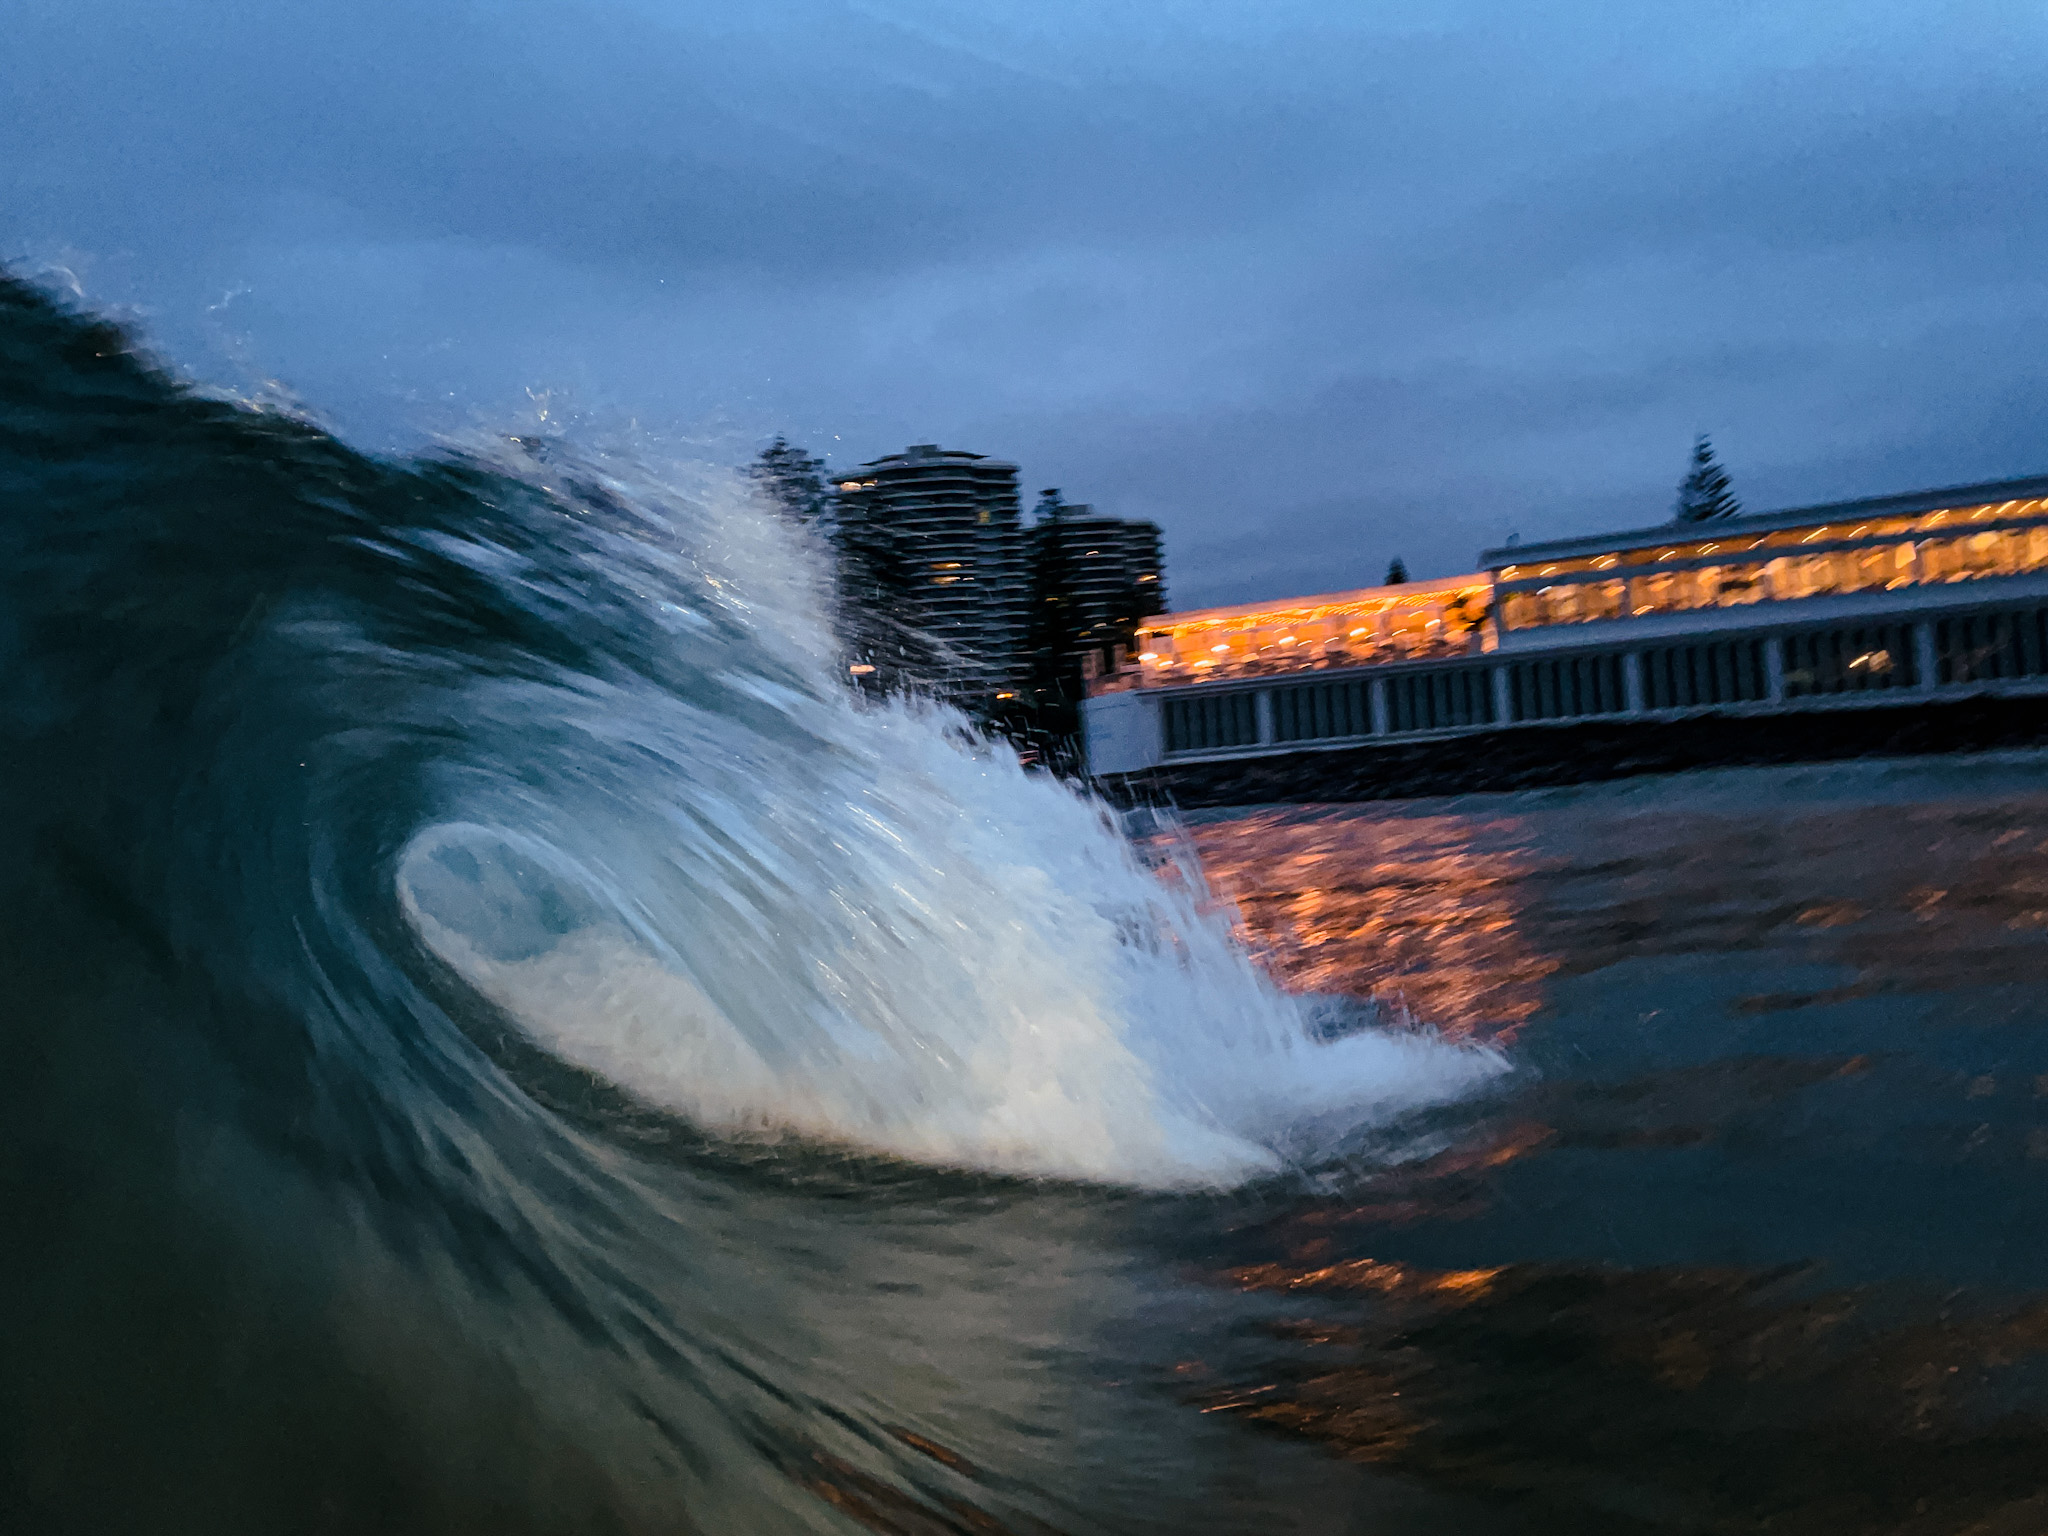
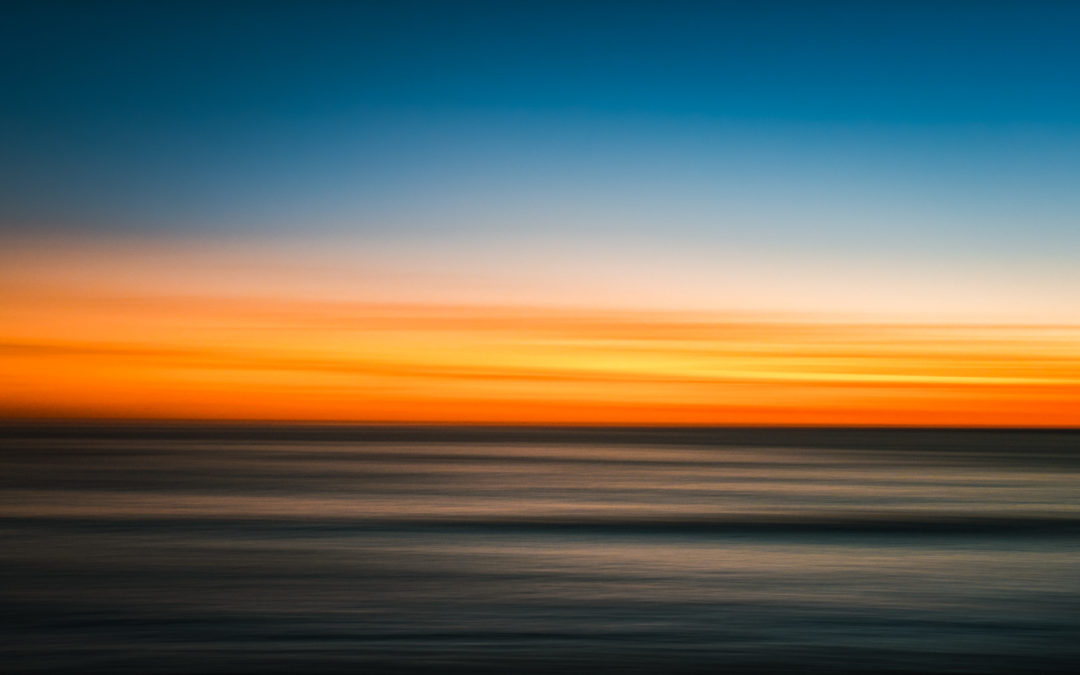
Seascape motion blur
A simple technique to start with is taking a seascape motion blur, in which you pan your phone on a tripod as the exposure is being made. This is best done early or late, so there’s color in the sky and low light.
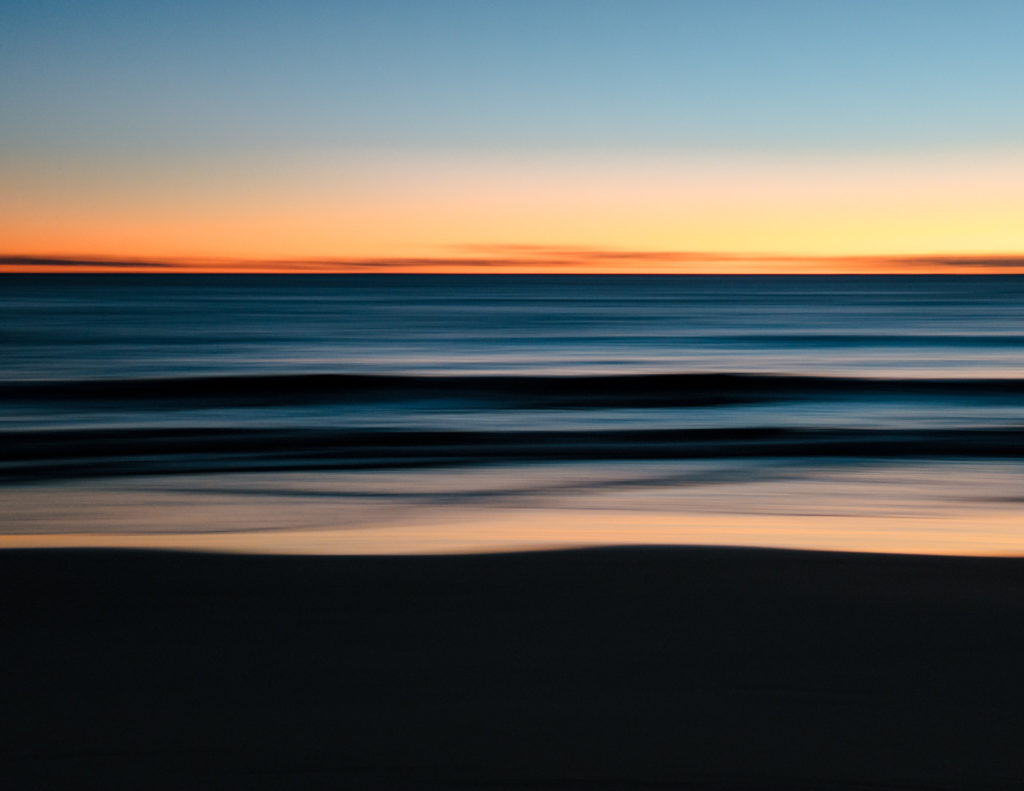
With your phone mounted, point it at least 200 degrees from where you want to finish. Set your shutter speed as low as you can, ideally one to two seconds. Start panning, ensuring the horizon remains as straight as possible in the fame on screen. It helps to turn on the grid. Once you have the panning movement going, press the shutter button and keep panning until the exposure is completed. A handy tip is to set the timer to three seconds so you don’t have to fiddle with the shutter button while panning.
You’ll probably need to try this a few times before you get it right. I’ve only done this by the ocean but it should work in an open field or anywhere that the horizon is unbroken.
The rest is up to you. The key in any photography is to get out there and experiment.
Happy snapping!
Rob Layton (Bond University Mobile Journalism Educator)